
CPAP Setup Process 2026: Easy Home Guide for Beginners
Starting CPAP therapy can feel confusing for many British adults new to sleep apnoea, especially when home setup is required. With over 1.5 million people in the United Kingdom using CPAP for better sleep, understanding each step makes a big difference. You will find straightforward guidance here, helping you create a comfortable sleep space, assemble your equipment, and get the most effective start to your therapy at home.
Table of Contents
- Step 1: Prepare Your Sleep Space And Equipment
- Step 2: Assemble And Connect CPAP Components
- Step 3: Fit And Adjust Your CPAP Mask Securely
- Step 4: Set Up And Test Machine Settings
- Step 5: Verify Comfort And Airflow For Safe Use
Quick Summary
| Key Point | Explanation |
|---|---|
| 1. Create a Comfortable Sleep Space | Select a stable spot for your CPAP machine, keeping it clean and away from dust and moisture for effective therapy. |
| 2. Assemble CPAP Components Properly | Ensure all components, like tubing and humidifier, are securely connected to prevent leaks and enhance performance. |
| 3. Adjust the Mask for Comfort | Fit your mask snugly but not too tightly to avoid irritation, ensuring it seals well for effective treatment. |
| 4. Set Correct Machine Settings | Review and adjust pressure and humidifier settings according to your specialist’s instructions for optimal comfort and therapy. |
| 5. Regularly Verify Equipment Functionality | Monitor machine performance and comfort, making adjustments as needed to ensure effective therapy throughout the night. |
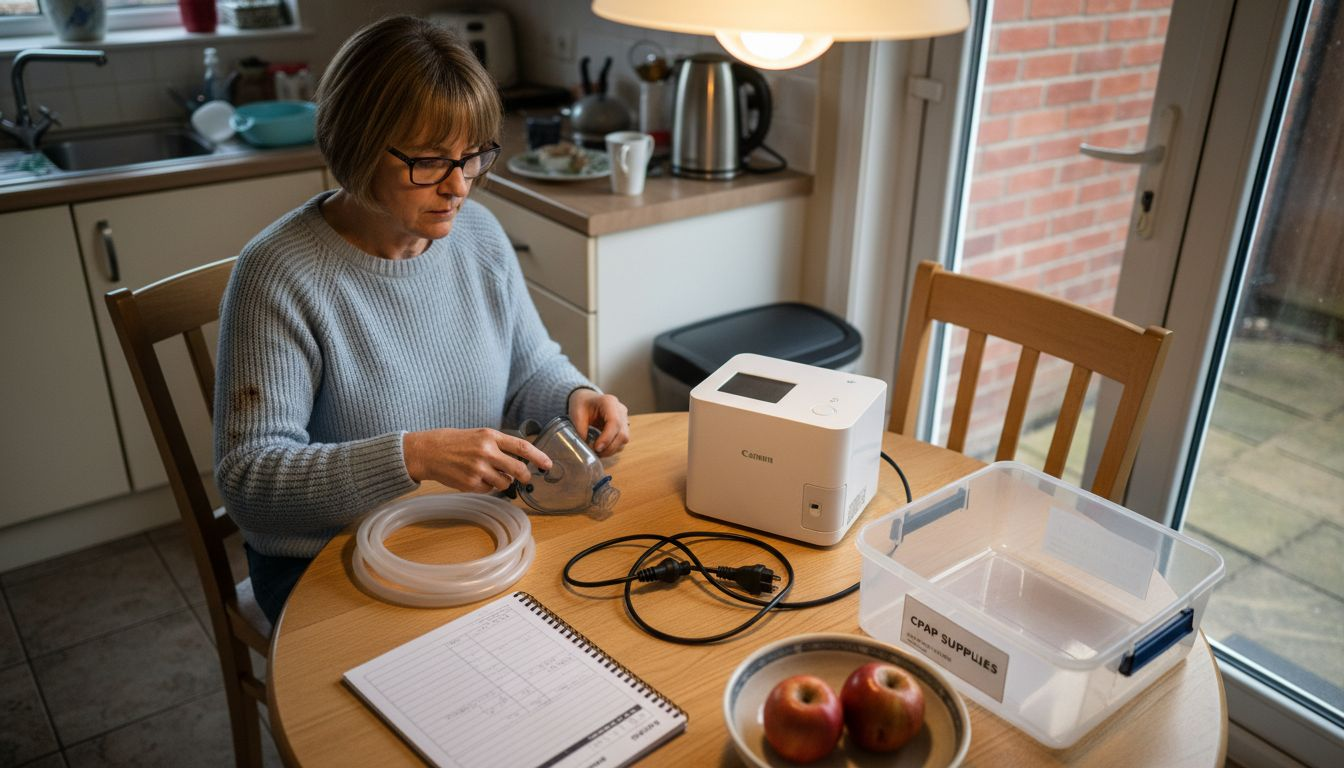
Step 1: Prepare your sleep space and equipment
Preparing your home environment for CPAP therapy involves creating a comfortable sleep space and ensuring your equipment is clean and ready. This step sets the foundation for successful continuous positive airway pressure treatment.
Start by selecting a bedside location for your CPAP machine that allows easy access and provides sufficient electrical outlets. Choose a flat, stable surface away from potential water sources or excessive dust. Your machine needs consistent airflow, so avoid tucking it into tight spaces or enclosed cabinets. Position the device approximately 20 centimetres from your bed, allowing the tubing to comfortably reach your mask without strain.
Maintaining your equipment is crucial for effective therapy. Regular cleaning of your CPAP components prevents bacterial growth and ensures optimal performance. Gather essential cleaning supplies such as mild, unscented soap, distilled water, clean towels, and a designated drying area. You will want to wash your mask cushion, headgear, and tubing weekly using warm water and gentle soap, then air dry completely before reassembling.
Expert Tip: Create a dedicated CPAP maintenance schedule in your smartphone calendar to help you consistently clean and inspect your equipment, ensuring long lasting performance and hygiene.
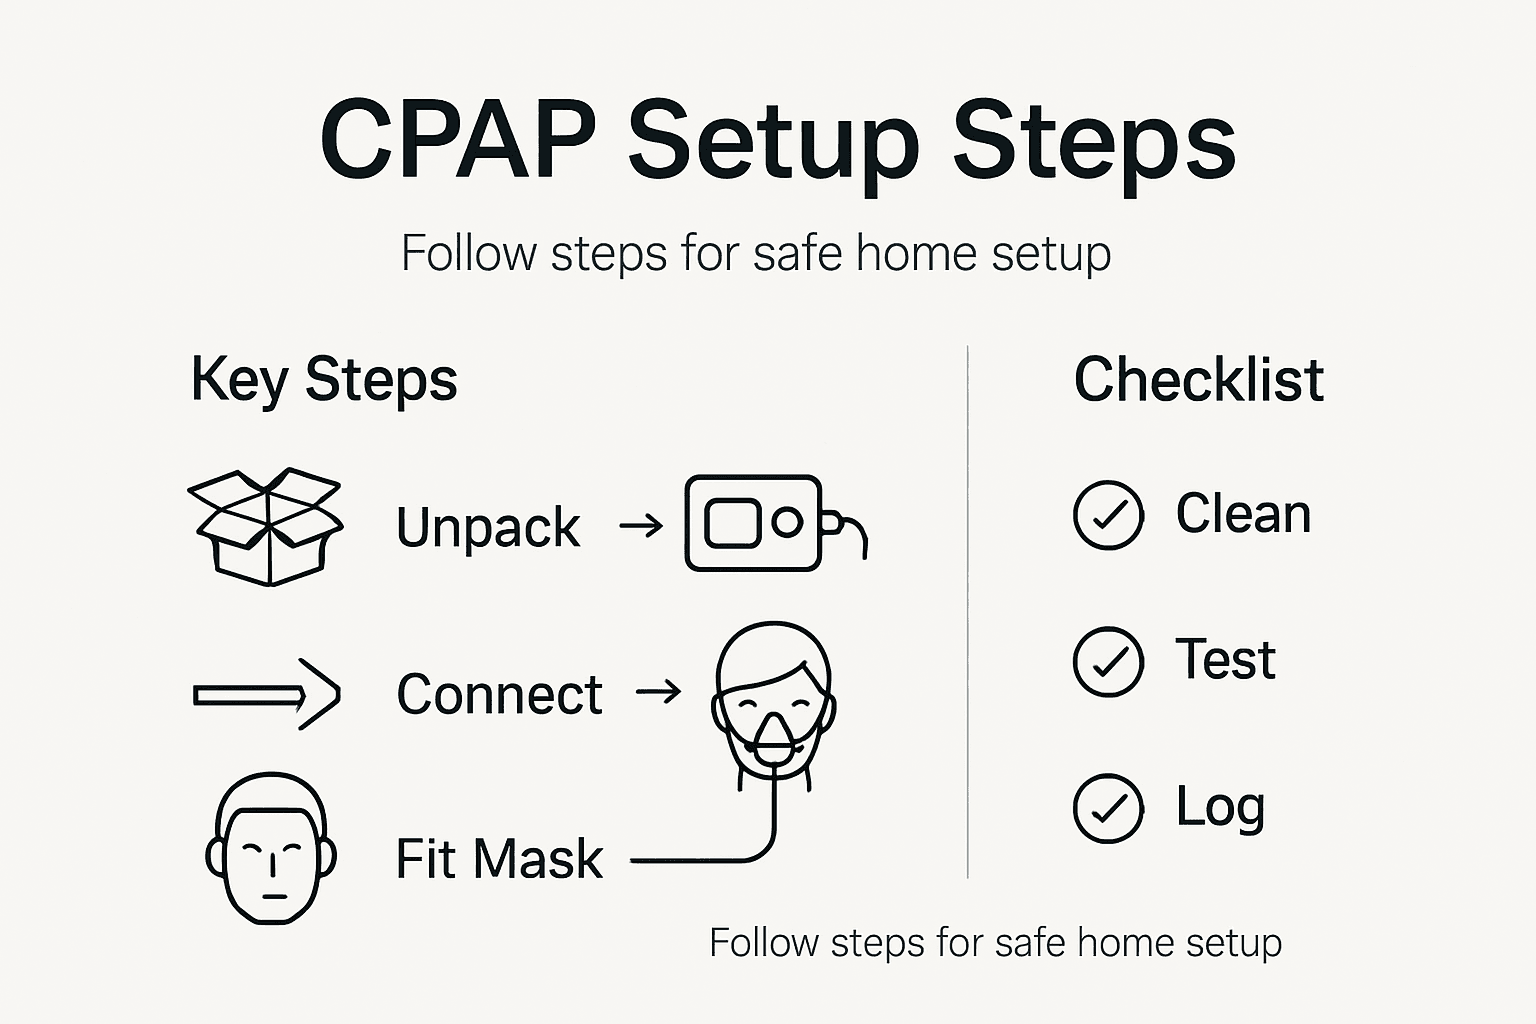
Step 2: Assemble and connect CPAP components
Assembling your CPAP machine involves carefully connecting each component to ensure proper functionality and comfort during your sleep therapy. This process might seem complex initially, but with careful attention, you will quickly become proficient.
Begin by unpacking all the components and laying them out systematically. According to sleep experts, proper machine setup is crucial for effective treatment. Locate your main CPAP unit, tubing, humidifier chamber, power cord, and mask. Start by inserting the air filter into its designated slot on the machine. These filters protect your airways by trapping dust and potential allergens, so ensure they are clean and securely positioned.
Next, connect the tubing to the machine’s air outlet port, making certain it is firmly attached without any potential air leaks. Attach the other end of the tubing to your mask, checking that the connections are secure but not overly tight. If your machine includes a humidifier, fill the water chamber with distilled water up to the indicated maximum line. This helps prevent mineral buildup and ensures optimal humidity during your therapy. Double check all connections by gently pulling on each component to verify they are properly seated.
Here’s a summary of essential CPAP machine setup components and their purposes:
| Component | Main Function | Importance |
|---|---|---|
| Machine Unit | Generates air pressure | Delivers constant airflow for effective apnoea treatment |
| Tubing | Transports air to the mask | Maintains airflow and flexibility during sleep |
| Mask | Directs air into the airway | Creates a comfortable, effective seal for user therapy |
| Humidifier | Adds moisture to airflow | Prevents dryness and irritation during overnight use |
| Air Filter | Removes dust/allergens | Protects user from inhaling contaminants, prolongs machine life |
Expert Tip: Keep a small notebook near your CPAP setup to document weekly maintenance tasks and track filter replacement dates, helping you maintain consistent equipment performance.
Step 3: Fit and adjust your CPAP mask securely
Fitting your CPAP mask correctly is crucial for effective sleep therapy. Getting the right seal and comfort will help you maintain consistent treatment and improve your overall sleep quality.
Proper mask fitting requires careful adjustment to prevent air leaks and ensure patient comfort. Start by positioning the mask against your face while seated upright. Adjust the headgear straps gradually, ensuring they are snug but not overly tight. A common mistake is overtightening, which can cause skin irritation and reduce mask effectiveness. The mask should create a comfortable seal without pressing too hard against your skin. When lying down, your facial muscles relax and shift, so test the fit in your usual sleeping position.
Begin with the bottom straps, then move to side and top straps. Make small incremental adjustments, checking for gaps around your nose and mouth. If you wear glasses or have facial hair, these might impact the mask seal, so spend extra time finding the optimal position. Your mask should feel secure yet comfortable enough that you can move naturally during sleep without breaking the seal.
Below is a concise comparison of common CPAP mask types and their typical suitability:
| Mask Type | Comfort Level | Typical Suitability |
|---|---|---|
| Full-face | Moderate | Mouth breathers and nasal blockage |
| Nasal | High | Most users with unobstructed nose |
| Nasal pillows | Very high | Light sleepers or claustrophobic |
Expert Tip: Keep a hand mirror nearby during initial fittings to help you see and adjust the mask placement from different angles, ensuring a precise and comfortable fit.
Step 4: Set up and test machine settings
Configuring your CPAP machine settings is a critical step in ensuring effective sleep apnoea therapy. Understanding how to adjust your device will help you maximise comfort and treatment efficacy.
Individualised pressure settings are essential for optimising CPAP therapy effectiveness. Begin by reviewing the specific pressure settings prescribed by your sleep specialist. Most CPAP machines feature a ramp function that allows gradual pressure increase, helping you adjust to the airflow more comfortably. Start by activating the machine and checking the display panel. Look for options like pressure level, ramp time, and humidity settings. The ramp feature typically begins at a lower pressure and incrementally increases to your prescribed therapeutic pressure over 5 to 45 minutes, allowing you to fall asleep more naturally.
Carefully examine the humidifier settings to prevent dryness and improve overall comfort. If your machine includes temperature controls for the humidifier, start at a moderate setting and adjust based on your personal comfort. Test the mask seal while the machine is running to ensure consistent airflow and minimal leakage. Listen for any unusual sounds that might indicate improper connection or equipment issues. Remember that initial setup might require several adjustments to find your ideal comfort level.
Expert Tip: Keep your machine’s user manual nearby during initial setup and consider recording your preferred settings in a notebook for future reference and easy troubleshooting.
Step 5: Verify comfort and airflow for safe use
Ensuring your CPAP therapy feels comfortable and functions correctly is essential for long term treatment success. This final verification step helps you confirm that your equipment is working perfectly and providing optimal respiratory support.
Monitoring mask fit and airflow is crucial for maintaining effective sleep apnoea treatment, so take time to carefully assess your equipment. Begin by sitting or lying in your typical sleeping position and checking for any air leaks around the mask edges. A proper seal means minimal noise and consistent air pressure. Run your fingers gently around the mask perimeter to detect any unexpected air streams. Pay attention to how the mask feels against your skin some slight pressure is normal, but persistent discomfort indicates a need for adjustment.
Pay close attention to your breathing pattern while the machine operates. The airflow should feel steady and smooth without causing respiratory strain. Check the machine’s display for pressure consistency and listen for any unusual sounds that might suggest mechanical issues. If you experience persistent dryness in your mouth or nose, adjust the humidifier settings or consider using a heated tube. Remember that minor adjustments are normal during the first few weeks of CPAP therapy as you learn what works best for your individual comfort and breathing needs.
Expert Tip: Keep a weekly comfort log during your first month of CPAP use, noting any issues with mask fit or airflow to help you quickly identify and resolve potential problems.
Simplify Your CPAP Setup with Trusted Equipment from CPAP Supply UK
Starting CPAP therapy can feel overwhelming as you navigate mask fitting, machine assembly and pressure settings. This guide highlights common challenges like maintaining a secure mask seal, managing equipment hygiene and configuring your machine for comfort. At CPAP Supply UK, we understand these specific needs and provide a comprehensive range of expertly selected CPAP machines, masks and essential accessories designed to support your journey towards restful sleep and effective treatment.
Discover everything you need to complete your setup confidently at CPAP Supply UK. Whether you require replacement filters, humidifiers or a new mask tailored to your preferences, our reliable products and friendly support make preparing your sleep space straightforward. Take control of your CPAP therapy today with quality equipment that helps overcome fitting frustrations and ensures optimal airflow. Visit our online store now and experience the difference well-chosen supplies make for comfortable, effective sleep apnoea care.
Frequently Asked Questions
How do I prepare my sleep space for CPAP therapy?
To prepare your sleep space for CPAP therapy, select a flat, stable surface for your machine near an electrical outlet, away from dust and water sources. Position the CPAP machine about 20 centimetres from your bed, ensuring easy access and a comfortable reach for the tubing.
What are the essential steps for assembling my CPAP machine?
Assemble your CPAP machine by unpacking all components, including the main unit, tubing, humidifier chamber, and mask. Connect the air filter, attach the tubing to both the machine and mask, and fill the humidifier with distilled water up to the indicated line to ensure effective therapy.
How do I fit my CPAP mask correctly?
Fit your CPAP mask by positioning it against your face while sitting upright. Adjust the headgear straps snugly without overtightening, and check for gaps or leaks, especially when lying down.
What settings do I need to configure on my CPAP machine?
Configure your CPAP machine by checking the pressure settings as prescribed by your specialist and activating the ramp feature, if available. Adjust the humidifier settings for comfort to prevent dryness during therapy, starting at a moderate level and modifying as needed.
How can I verify that my CPAP setup is comfortable and working properly?
Verify your CPAP setup by checking for air leaks around the mask and ensuring the airflow feels steady and smooth during use. Monitor for any discomfort, and keep a weekly comfort log to identify any issues with the mask fit or machine performance.
Recommended
- ResMed AirSense 10 AutoSet | AirFit F20 Full Face Mask | CPAPSupply UK
- CPAP Machine | ResMed AirSense 10 AutoSet | F30i CPAP Mask | Elarix UK
- BiPAP Machine | Philips DreamStation ST30 GB Auto | CPAPSupply UK
- ResMed AirSense 10 AutoSet | AirFit P10 Pillows Mask | CPAPSupply UK
- Complete Crochet Home Decor Guide for Cozy Spaces